For the 2022-2023 rocketry season, we decided to transition away from the pyro valve (a piston driven by a pyrotechnic charge) and instead use a servo-actuated ball valve.
CSI has a poor history with servo-actuated ball valves. For the 2018-2019 rocket, they experienced a failure to launch due to 3D-printed gears seizing. This led to a transition to a pyro valve for the 2021-2022 rocket, which successful static fires, however, the pyro valve took significantly longer to set up compared to a ball valve system.
As such, this year leadership decided to move forward with a servo-actuated ball valve with a design resilient to low temperature operation.
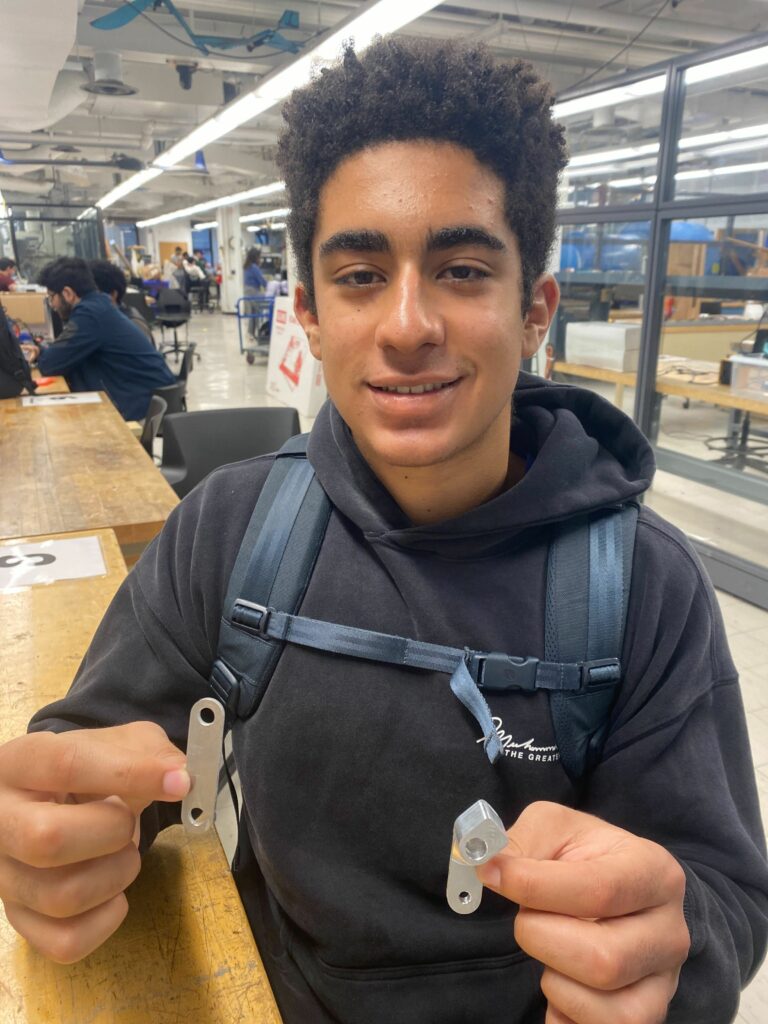
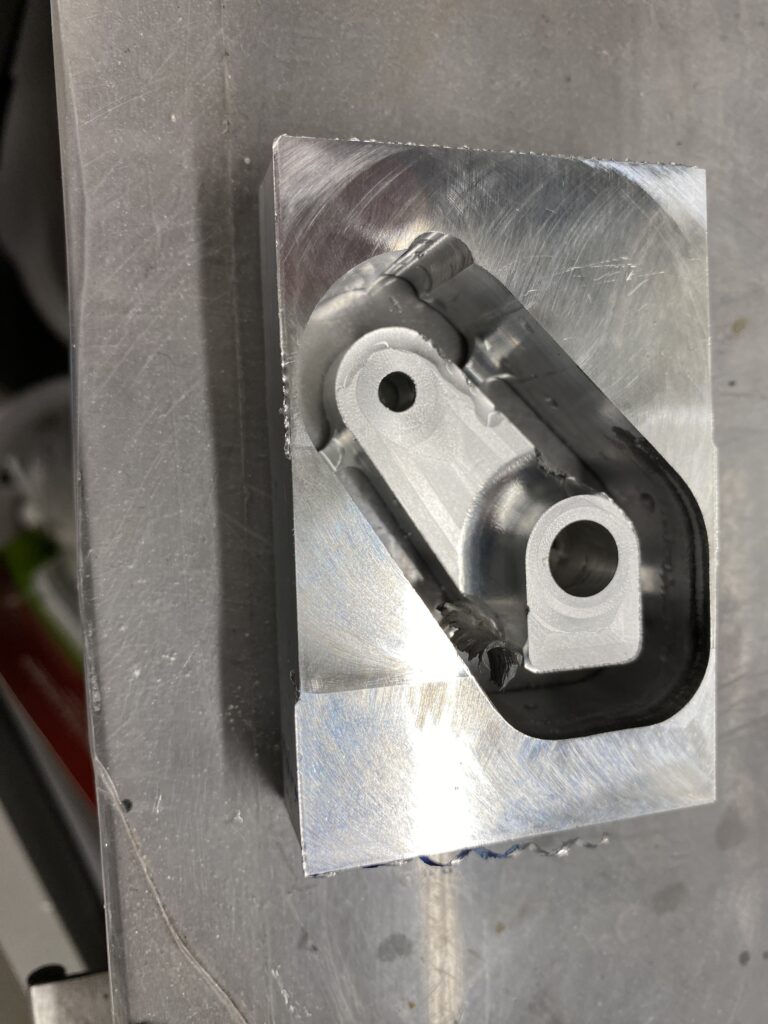
The first step was buying a Swagelok 3/4″ ball valve. Then, I machined a motor horn that attached to the ball valve axel using a large bolt.

The motor horn is offset from normal by 45 degrees to prevent binding during opening/closing. However, we then ran into a minor setback. Using a 3D-printed housing mating the servo to the ball valve, the torque from the servo was transferred into the case rather than the linkage.

Solving the housing problem required going in an entirely different direction. Because of the 90-degree internal corners, machining the existing housing design was impossible with our tools. However, using a waterjet it was possible to create thin aluminum plates with the required geometry. Then, using bolts and spacers to connect the plates creates a rigid housing.

After initial tests with the actuation assembly (which I sadly cannot find footage of), we decided to move with this design, except with a larger motor.
The next step was upgrading the torque on our ball valve. I chose a 125kg/cm servo from Amazon that provided ample torque for the ball valve. Furthermore, after testing the v1.0 design we became concerned with airframe tolerance. Since we were constrained to an OD of 6″, the horn on the servo would collide with the airframe at full extension. To offset this risk, I revamped the design to have the servo sit lower. While this required remanufacturing several components, I think it demonstrates how rocketry design requires knowledge of several subsystems to fulfill the team’s goals.
In tandem with the redesign, I successfully validated that the servo linkage design was viable using the existing housing. Not only did we achieve successful actuation several times, but we did it relatively quickly. The actuation speed would be improved by an order of magnitude the subsequent year with the coaxial pneumatic valve.
The next step is assembling the linkage and motor housing using my brand-new design, then testing it in a static fire!
To iterate on the housing design, I made some design improvements. The current housing, when mounted on the rocket, would collide with the airframe during actuation. Improving this required redesigning the motor horn and housing to sit lower down.


Housing 2.0 required a through hole for the axle on the ball valve horn, so I added extra bracing on the side for security. Additionally, while the servo isn’t touching the ball valve the gap was reduced to accommodate airframe tolerance. The housing also more easily permits access to the Swagelok compression fitting for final integration.

A comparison of legacy and updated servo-actuated ball valve designs. There is a noticeable difference both in the mechanism and size of the valve due to increased flow requirements.


Almost the entire tank was covered in frost. Although the servo got quite cold, it never failed to actuate during our testing regime.
The next step was validating the system under launch conditions. Our valve cam captured great footage of the servo operating during our April 26th static fire. All footage is courtesy of Jorge Casas, Rockets Co-Lead. The audio is extremely loud so please be mindful.